Silicone Mould Masterclass
Thursday, 18 January 2024
Here at Karen Davies Sugarcraft, we design and manufacture high quality silicone moulds with the belief that cake decorating and sugarcraft should be accessible to everyone! With our moulds you can achieve perfect and professional outcomes quickly and easily with no stress, keeping cake decorating an enjoyable hobby and profitable business.
We have been designing and manufacturing moulds for over 15 years now! So you could say we are experts on the subject.
Here we explain a few very simple rules that will have you creating perfect decorations in no time!
1. Choosing the Right Silicone Mould:
- Material: Ensure your silicone mould is made from food-grade silicone for edible creations or high-quality silicone for crafting projects. Be careful where you purchase moulds from as there are many counterfeit moulds out there which use inferior quality silicone that may not be food safe, will rip or tear and do not have the release quality required to give you optimum results.
- Design: Select a mould that complements your project. Moulds come in various shapes and sizes, from intricate patterns to detailed figures.
2. Preparing the Mould:
- Cleaning: Wash the silicone mould with mild soap and water before the first use. Our silicone moulds are dishwasher friendly too! (Not moulds on the market are).
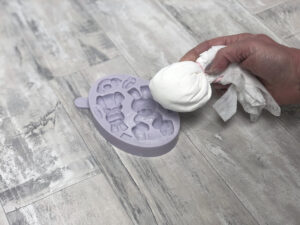
- Dust with Cornflour: ALWAYS dust your mould with cornflour. Use a cornflour pouch and pat it all over the mould. Tap out any excess before moulding. Do not use trex (white vegetable fat). The reason is that when you release the paste from the mould, you might want to add colours by brushing on or painting with powders. The grease will prevent you from doing this.
- Have tylose (cmc) powder to hand: Tylose(cmc) powder can be added to your sugarpaste / fondant to ensure that it will work with the moulds. The general rule is approximately 1 tsp of tylo kneaded into 250g of sugarpaste. The quantity can vary slightly depending on the brand of paste that you use. You need to bear in mind that the paste will also firm up further the few hours after the tylo is kneaded into it. Karen Davies Sugarcraft own brand sugarpaste works straight from the packet with no need to add tylo.
3. Using the Mould:
- Materials: Prepare your chosen material (chocolate, fondant, resin, etc.) according to the product instructions.
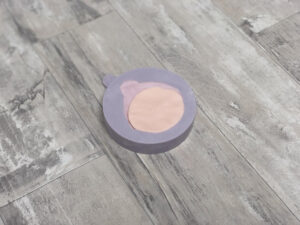
- Filling the Mould: Pour or press the material into the mould carefully, making sure to reach all the details. Make sure you fill the cavity so as your material is flat against the back of the mould.
- Leveling: Scrape excess material from the top of the mould using your fingers if using sugarpaste/ cookie dough/ clay or a spatula or knife if using a liquid substance to create a smooth surface.
- Make sure your fingers aren’t sticky: When moulding a thin piece of sugarpaste, you should also dust the back of the paste with cornflour to prevent it sticking to your fingers and lifting out of the mould too soon.
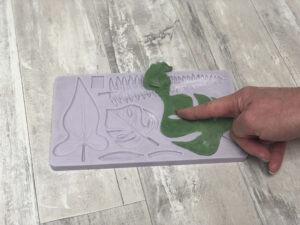
4. Setting or Baking:
- Setting Time: Sugarpaste and certain clays can be released immediately. Simply turn your mould over and peel back. Chocolate and other liquid materials will need to be left to set. Cookie dough should be released onto a lined baking tray ready for baking.
- Baking: If using for baking, follow the recommended temperature and time guidelines, such as our no-spread cookie recipe.
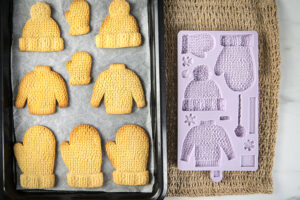
5. Releasing:
- Waiting Period: Ensure your creation has fully set or cooled before attempting to demould. Sugarpaste, rolled buttercream, certain clays and cookie dough can be released immediately.
- Peeling Away: Gently peel back the edges of the mould to release your creation. Flex the mould to help release the edges if necessary.
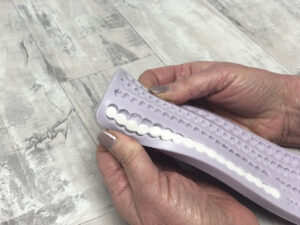
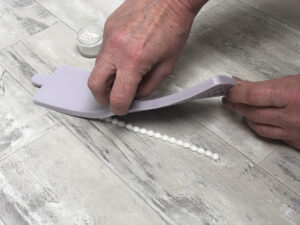
6. Cleaning and Storage:
- Cleaning Up: Wash the mould with mild soap and water. Some silicone moulds are dishwasher safe (including ours.. yippee!)
- Storage: Store the mould in a cool, dry place.
7. Tips for Success:
- Temperature Awareness: Be mindful of temperature requirements for both the material and the mould. In warmer weather
- Experiment: Don’t hesitate to experiment with colors, layers, and techniques to enhance your creations.
- Patience: Allow ample time for setting or cooling if using a liquid material to avoid damaging your masterpiece during release.
8. Advanced Techniques:
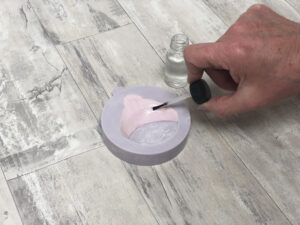
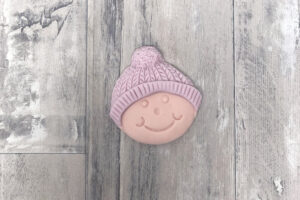
- Layering: Create multi-layered designs by building colours! When using sugarpaste use a small bone tool or ball tool to help you press different coloured pastes into different crevices.
- Painting/Decorating: After releasing, enhance your creations with additional colors or decorations. We always use edible powder colours to dust our creations and we add rejuvenator spirit to turn our powders into paints when a stronger colour is needed.
9. Safety:
- Material Safety: If using for food, ensure that the silicone mould is food-grade and has no harmful additives. Counterfeits like those on Amazon, Shein, Alibaba and Temu are more than often not food safe. If the mould seems like an absolute bargain.. there’s a reason for it. Poor quality silicone can also rip or tear.
- Ventilation: For projects involving fumes (e.g., resin casting), work in a well-ventilated area.
Remember to always follow the specific instructions provided by the manufacturer of your silicone mould and the material you are using. Happy creating!
- Published in Blog, Uncategorized
No Comments


