
How Do I Mould in Multiple Colours Without It Looking Messy?
How Do I Mould in Multiple Colours Without It Looking Messy?
Your Guide to Clean, Professional Cake Decorations Using Silicone Moulds
If you’ve ever tried moulding in multiple colours only to end up with smudged details or colours that bleed into each other, you’re not alone. This is one of the most common questions we’re asked — and we’re here to show you just how easy it is to get clean, detailed, multi-coloured moulded decorations using our Karen Davies Sugarcraft silicone moulds.
The secret? It’s all about technique, patience, and the right sugarpaste. ✨
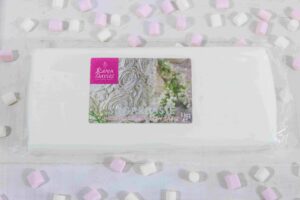
First Things First: Use the Right Paste
Start with the best possible base. Our Karen Davies Sugarcraft Marshmallow Sugarpaste is ideal for moulding. It’s:
-
Super smooth and pliable
-
Non-sticky and crack-free
-
Holds detail beautifully
-
Vegan, gluten-free, and lactose-free
-
Delicious and easy to colour
-
Perfect for beginners and professionals
Using a high-quality paste makes a world of difference when working with fine details and layering colours.
Step-by-Step: Moulding in Multiple Colours
Here’s our simple method for moulding clean, vibrant decorations with no mess or colour bleed:
1. Colour Your Paste First
Use gel food colour and knead it into small amounts of our sugarpaste until you reach your desired shades.
Top Tip: Wear gloves to avoid stained hands, and work on a clean, dry surface.
2. Start with the Deepest Details First
Identify the deepest parts of your mould (like eyes, buttons, sprinkles, etc.).
Use tiny amounts of coloured paste to fill these areas.
-
Use a ball tool or modelling tool to gently press the colour into place
-
Guide any excess over to one edge, then tear away
The goal is to leave colour only where it’s meant to be — no overfilling.
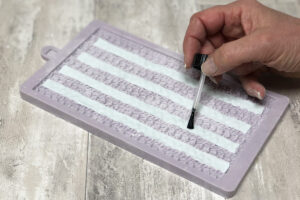
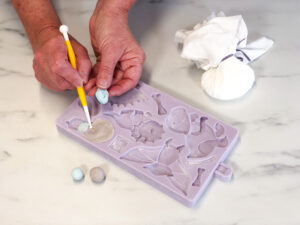
3. Add a Dab of Edible Glue
Once your first colour is in place, brush a tiny bit of edible glue or water over it. This helps the next colour layer stick without shifting or lifting the one beneath.
4. Repeat With Your Next Colour Layers
Work from detail to background. Continue layering colours, using glue sparingly between layers. Build up your design piece by piece.
Don’t rush — take your time and press each colour in gently.
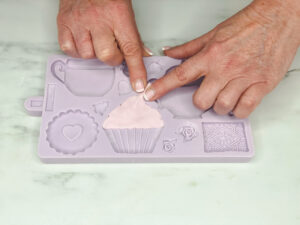
5. Fill the Rest of the Mould
Once the details are done, fill the remaining mould space with your main colour. Press the paste in firmly and ensure the back is smooth.
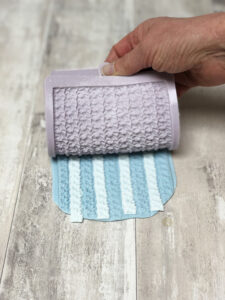
6. Release and Tidy Up
Turn your mould over and peel back to release your decoration gently and admire your neat colour work! If needed, use a dresden tool to touch up edges.
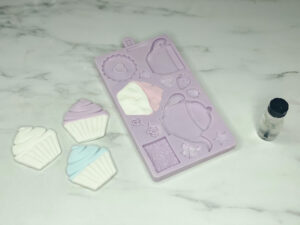
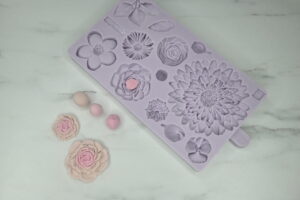
✨ Pro Results, No Painting Required
This technique allows you to mould in vibrant colours with minimal painting afterwards, saving you time and giving you a cleaner finish.
You can use this method with almost all of our silicone moulds.
Karen’s Advice:
“Always start small and build up. You’re best putting in too little paste and adding extra than putting too much in and ending up with a mess. Our moulds are designed to make this process as easy and enjoyable as possible with lots of detail and edges that help you.”
Want to See It in Action?
Visit our YouTube channel for step-by-step tutorials showing this exact method in real time! Follow us on Instagram for daily tips, tricks, and inspiring cake ideas.
Ready to Try?
Explore our full range of moulds and stock up on our best-selling marshmallow sugarpaste — and you’ll be moulding in multiple colours like a pro in no time.
Created with love by a leading UK cake artist & her award-winning daughter. Proudly family-run for over 15 years.
✨ When you use Karen Davies moulds, you’re crafting with the best.


You must be logged in to post a comment.