Tutorial – Winter Mitten Cookies
Winter Mitten Cookies
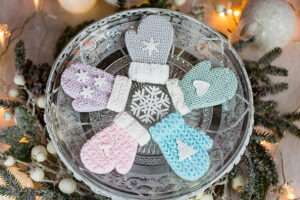
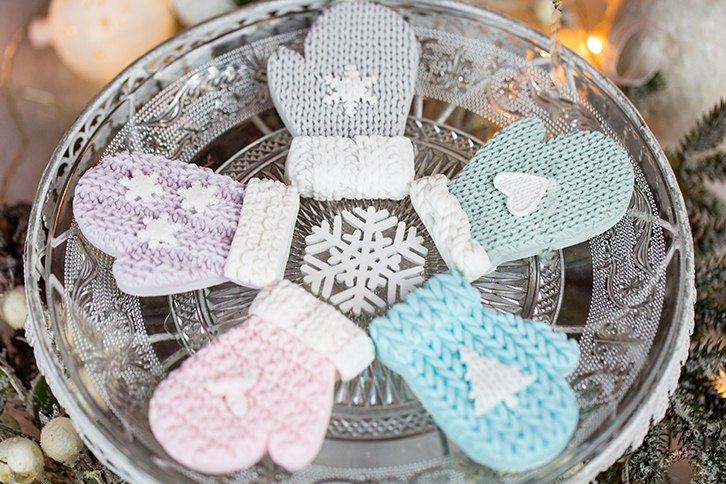
Keep your cakes and bakes warm this Winter with this fun winter mitten tutorial.
Make mittens using our cookie recipes and our range of knit and crochet moulds!
Watch our quick tutorial video and then follow the instructions below!
For our favourite cookie recipes click here >>> ‘How to mould and bake perfect cookies’
Equipment
Either..
Karen Davies Sugarcraft Chunky Rib Mould
Karen Davies Sugarcraft Knitted Piece Mould
Karen Davies Sugarcraft Crochet Piece Mould
Karen Davies Sugarcraft Chunky Knit Mould
And/Or..
Karen Davies Sugarcraft Rustic Cable Knit Mould
Corn Flour
Edible Glue
Various cutters such as Holly and Trees could also be used.
Instructions
- Make your cookie dough following the instructions in our ‘How to mould and bake perfect cookies’ post.
- Roll out your cookie dough until it’s 1cm thick and use your mitten cutter to cut out as many mittens as you would like.
- Place on a baking tray and bake.
- Once your mittens are baked, allow them to cool. You can either wait until your cookies are completely cool and then follow the steps below, attaching your decorations to your cookie as you go. Or you can create the decorations in advance and then simply attach on top of your cookies once the cookies have cooled.
- Colour your sugarpaste using food colouring. They look beautiful in either pastel or festive colours. We always use either Rainbow Dust or Sugar Flair food colouring.
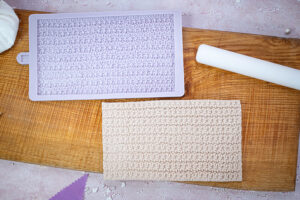
- Start by dusting your knit/crochet effect mould with cornflour and tapping out any excess.
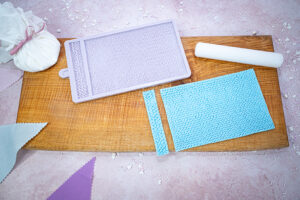
- Roughly roll out your sugarpaste on your work surface before placing into your mould. Start by using your fingers to press and secure your paste into one edge of the mould. Take a rolling pin and begin to roll from the edge that you have just secured. Roll firmly into the mould until you can begin to see the pattern through the back of your sugarpaste.
- Tear away any excess either with your fingers or with a palette knife before turning your mould over and peeling back. Your sugarpaste should drop out easily.
- Use your mitten cookie cutter to cut out a mitten from your moulded sugarpaste. To create a pair, simply turn your paste over so as the plain side is facing up and cut. Before cutting – make sure that the knitted pattern is running in the correct way – down or across your mitten. Place to one side.
- Now you can mould accessories for your hat using various cutters such as holly and trees or you can mould accessories from our moulds such as Rustic Cable Knit Mould, Sugar Snowflakes Mould, Baby Buttons Mould, Buttons Mould, Flower Buttons Mould.
- Mould a trim for your mittens using one of our various knit/crochet effect moulds. In the video above we have used the trim from our Knitted Piece Mould. Measure it against the cuff of your mitten before trimming to size with a cutting wheel and attaching with edible glue. You can also make trims using any of the other moulds in our knit & crochet range.
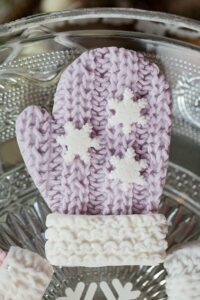
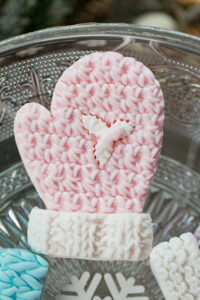
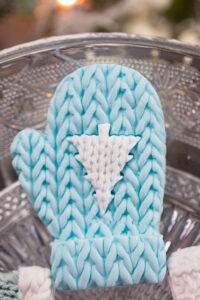
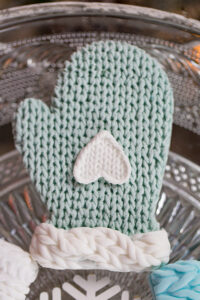
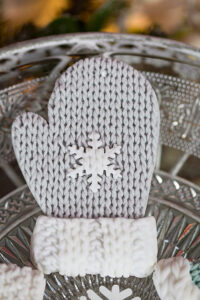
Let it snow, let it snow, let it snow!
1 Comment to “ Tutorial – Winter Mitten Cookies”
You must be logged in to post a comment.


I LOVE these adorable mittens!