Why Does My Buttercream Get Air Bubbles or Look Rough?
How to Get Smooth, Professional Results Every Time
Have you ever spent time whipping up your buttercream only to have it look… bubbly, rough, or full of little holes when you try to decorate with it?
Don’t worry — you’re not alone. This is one of the most common questions we hear from bakers, whether you’re brand new to cake decorating or have been piping for years. Let’s break down why it happens and, most importantly, how to fix it.
What Causes Air Bubbles in Buttercream?
The answer is almost always in how it’s mixed.
When buttercream is over-whipped or whipped on too high a speed, it traps air — think of it like creating a buttercream foam rather than a silky, smooth frosting. That trapped air gets pushed out as you spread or pipe the buttercream, leaving behind:
-
Tiny air pockets
-
Rough or grainy texture
-
Visible bubbles and holes on the surface
The good news? It’s easy to fix with a few simple changes to your technique.
7 Top Tips to Avoid Airy, Rough Buttercream
1. Mix Low and Slow
Always mix your buttercream on a low speed once all ingredients are combined. This helps remove excess air and results in a smoother, denser buttercream — perfect for covering cakes and piping.
2. Use a Paddle Attachment, Not a Whisk
If you’re using a stand mixer, always use the paddle attachment. A whisk introduces more air, which is great for whipped cream — not for smooth buttercream.
3. Scrape Down the Bowl Often
Every few minutes, stop the mixer and scrape down the sides of your bowl. This ensures all your ingredients are incorporated evenly and no extra air is beaten in along the edges.
4. Finish by Hand Mixing
Right before using your buttercream, mix it by hand with a spatula for 1–2 minutes. Press the buttercream against the sides of the bowl to pop any remaining air bubbles. This simple step makes a huge difference in smoothness!
5. Use the Right Butter
Softened, room-temperature butter will whip more evenly and help you avoid curdled or bubbly texture. Don’t use butter that’s too cold or too melted — you want it soft but still solid.
6. Cover and Let It Rest
If you have time, let your finished buttercream rest for 15–30 minutes before using it. Cover it with a lid or cling film to keep it from crusting. The rest time helps air bubbles rise to the top — you can then give it a quick stir before using.
7. Smooth With a Warm Palette Knife
Once the buttercream is on your cake, use a palette knife warmed in hot water and wiped dry to smooth the surface. This melts the top layer just enough to glide over it for a silky finish.
Bonus Tip:
When piping buttercream details, especially with fine nozzles, a bubble can cause your design to “blow out” mid-squeeze. If you’re piping something important (like buttercream flowers), gently stir your piping bag to settle the buttercream before you begin — or press it down well with a scraper to remove pockets of air.
Karen’s Advice:
“Perfecting your buttercream is just as important as choosing the right paste for moulding. It’s all about slowing down and treating your buttercream with care — just like you would with sugarpaste.”
Smooth Buttercream, Beautiful Cakes
Whether you’re topping cupcakes or creating a flawless finish for your fondant-covered cakes, buttercream should be a joy to work with — not a frustration.
By following these tips, you’ll be well on your way to:
✔️ Fewer bubbles
✔️ Silky, professional-looking results
✔️ Less waste and fewer re-dos
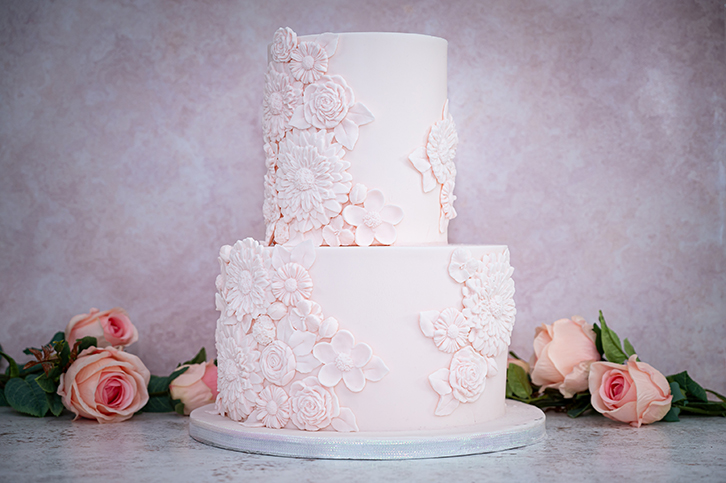
✔️ Beautifully smooth foundations for your moulded decorations!
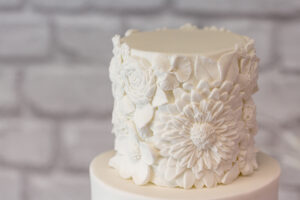
Final Thought
Every cake starts with a smooth base — and with the right buttercream technique and moulds, your cakes will not only look polished, but feel effortless to decorate.
Need help with your next cake? We’re always here to support you.
Team Karen Davies Sugarcraft
Created with love by a leading UK cake artist & her award-winning daughter. Proudly family-run for over 15 years.
✨ When you use Karen Davies moulds, you’re crafting with the best.



You must be logged in to post a comment.